


If your lawn looks ragged after mowing, with tips that go brown within a day or two, the chances are your lawn mower blade has gone dull. A dull blade tears through grass rather than cutting it cleanly, leaving the plant more vulnerable to disease and your lawn looking untidy, no matter how carefully you mow. A sharp blade, by contrast, makes a clean cut that the grass recovers from quickly, giving you a noticeably neater, healthier finish.
This guide walks you through how to sharpen a lawn mower blade step by step, from removing it safely to getting it back on the mower ready to go. Along the way, we'll cover which tools work best, how to know whether a blade is worth sharpening at all, and the most common mistakes that catch people out. For most homeowners, removing the blade first is the most effective approach, and it's rather simpler than it sounds.
Table of Contents
Signs Your Lawn Mower Blade Needs Sharpening
The most obvious sign is how the grass looks after you mow. If the tips appear torn, frayed, or turn yellow or brown within a day or two of cutting, the blade is likely tearing the grass rather than slicing it cleanly. You might also notice that the lawn looks uneven despite the mower being set at the correct height, or that the mower seems to be working harder than usual, bogging down on even moderate grass.
Blades dull faster than most people expect. Hitting a stone, a buried root, or even a thick stick is enough to chip or blunt the edge quite noticeably. As a general rule, checking the blade once or twice per mowing season is sensible for most homeowners. A useful benchmark is around 20 to 25 hours of use; after that, it's worth taking a look even if you haven't noticed anything obviously wrong. Catching it early makes sharpening quicker and a good deal easier.

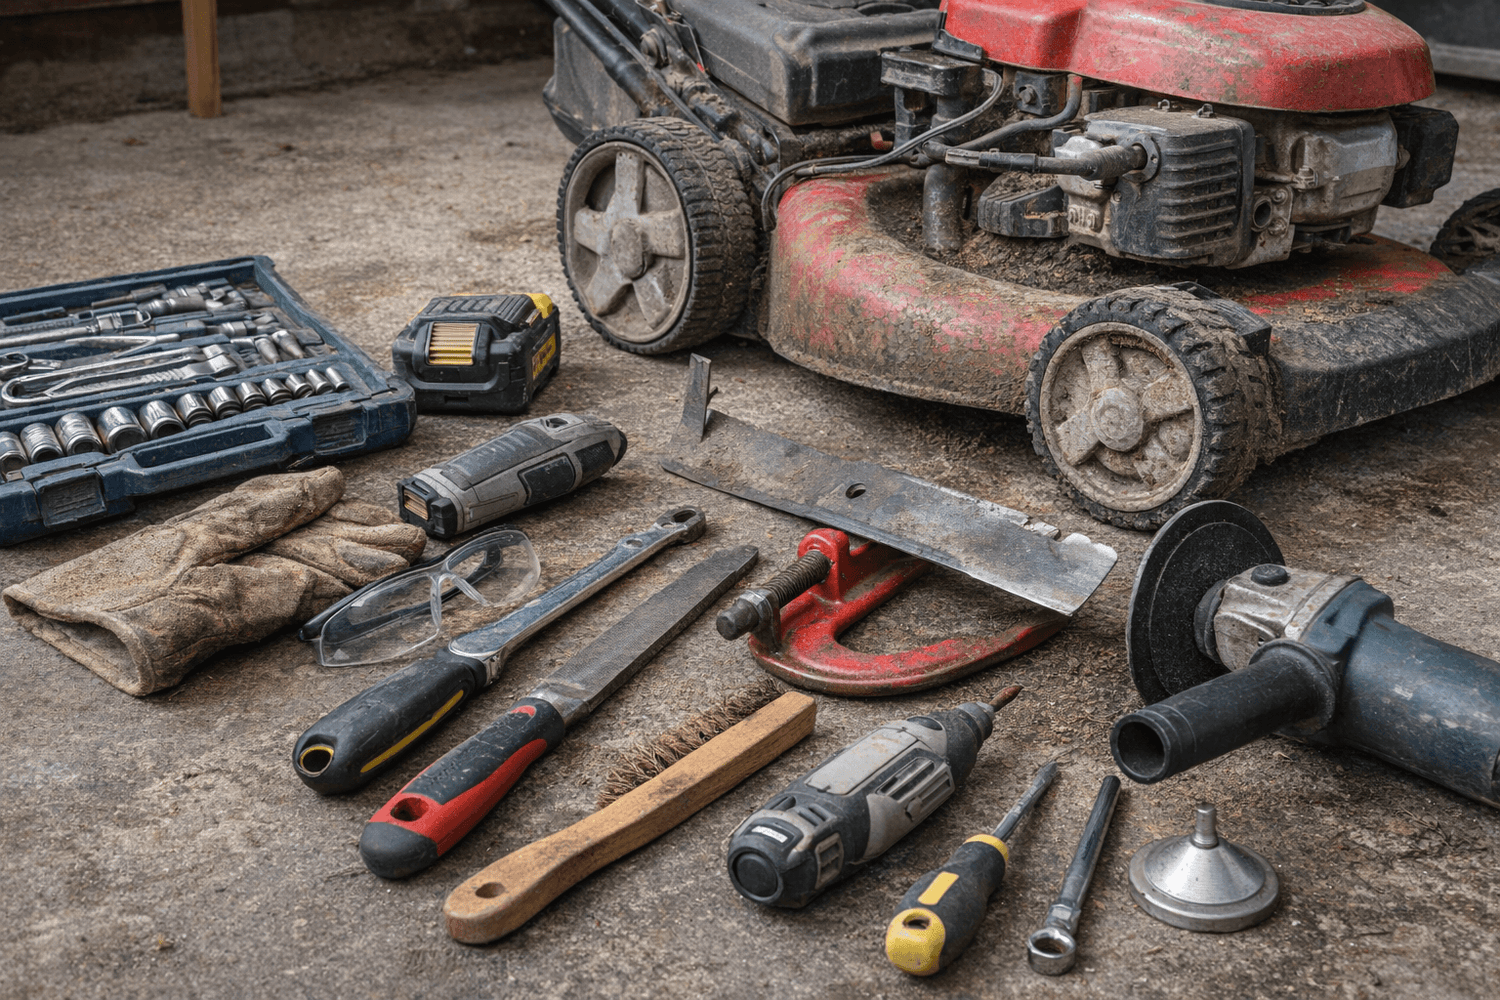
What You Need Before You Start Sharpening
Safety basics
Before you do anything else, disconnect the power source. For a petrol mower, remove the spark plug lead. For electric or battery-powered mowers, remove the battery or unplug the power cord. This is non-negotiable: the blade must not be able to move whilst you're working near it.
Let the mower cool down fully if it's been running recently, and put on a pair of sturdy work gloves and eye protection before handling the blade. If you're working with a petrol mower and need to tilt it, do so carefully and tilt it to the side where the air filter and carburettor face upwards. This prevents fuel or oil from leaking into places it shouldn't.
Tools you'll need
Here's what to have to hand:
- Wrench or socket set
- Vice or clamp
- Wire brush
- Metal file
- Angle grinder (optional)
- Rotary tool / Dremel (optional)
- Blade balancer or flathead screwdriver
The metal file and the balance check are what matter most. Everything else is about convenience and speed rather than necessity.
How to Sharpen a Lawn Mower Blade Step by Step
1. Remove the blade safely
Tip the mower to the correct side (always check your manual if you're unsure which way is safe for your particular model). To stop the blade turning as you loosen the bolt, wedge a block of wood between the blade and the mower deck, or use a blade removal tool if you have one to hand. The centre bolt is usually quite tight, so use the correct socket size and turn anti-clockwise to loosen.
Before you pull the blade off, mark the underside with a marker or a piece of tape. It sounds obvious, but blades can look much the same on both sides, and reinstalling one upside down is one of the most common and costly mistakes in this job.
2. Clean and inspect the blade
Use a wire brush to scrub off any caked-on grass, dirt, and surface rust. Once the blade is clean, hold it up to the light and look carefully along the edge and along the body of the blade. You're looking for cracks, bends, heavily chipped sections, or areas that have worn thin.
⚠ Important
If the blade is bent, cracked, or severely chipped, do not attempt to sharpen it. A damaged blade can fail at speed and cause serious injury. Replace it instead; blades are inexpensive and widely available.
If the blade looks structurally sound with only a dull or slightly nicked edge, it's good to sharpen.
3. Sharpen the cutting edge
Clamp the blade securely in a vice so it doesn't move whilst you work. The cutting edge runs along just one side of the blade; you'll be able to see the existing bevel from the factory grind. Your job is to follow that same angle rather than creating a new one.
If you're using a metal file, push it along the bevel in smooth, even strokes, moving from the inner part of the blade out towards the tip. Always work in one direction rather than back and forth. It takes a little longer, but you maintain far better control.
If you're using an angle grinder or rotary tool, take your time and remove small amounts of metal with each pass. It's very easy to take off too much with power tools, and overheating the metal can soften it and reduce how well the edge holds up.
The blade should end up sharp enough to slice through grass cleanly, not knife-sharp. Running your thumb lightly along the back of the edge should feel noticeably sharper than before, but a razor edge isn't the target and isn't necessary.
Work both cutting edges equally if the blade has two. Try to remove roughly the same amount of material from each side so the blade stays balanced going into the next step.
4. Balance the blade
This step is easy to skip, but skipping it is a mistake. An unbalanced blade puts stress on the mower's crankshaft with every rotation, causing vibration, premature wear, and a noticeably uneven cut.
The simplest check is the screwdriver test: push a flathead screwdriver through the centre hole and hold it horizontally. If one end dips, that side is heavier. File a little more metal off the heavier end, not from the cutting edge, but from the flat back of the blade — and test again. Repeat until the blade sits level.
If you have a dedicated blade balancer (a small cone-shaped tool that sits on a worktop), it does the same job with slightly more precision. Either method works perfectly well for home use.
5. Reinstall and test
Slide the blade back on with the marked side (the underside) facing down and the cutting edges oriented in the correct direction of rotation. Tighten the centre bolt to the torque specification in your mower's manual. If you don't have the manual, firm and snug is the aim, but avoid over-tightening to the point of stressing the bolt.
Reconnect the spark plug, battery, or power cord. Before you take it out to the full lawn, run it over a small test patch of grass and check the result. Clean, straight cuts with no tearing mean the job is done well.

Best Tool Options for Sharpening a Lawn Mower Blade
The right tool depends largely on what you already own and how comfortable you are working with power equipment.
|
Tool option |
Best for |
Pros |
Watch out for |
|
Metal file |
Beginners |
Cheap, safe, easy to control |
Slower than power tools |
|
Angle grinder |
Confident DIY users |
Fast and effective |
Easy to remove too much metal |
|
Rotary tool / Dremel |
Quick touch-ups |
Good for small jobs and tight spaces |
Less efficient on very dull blades |
|
Bench grinder/drill attachment |
People who already own workshop tools |
Faster sharpening |
Less beginner-friendly |
For most homeowners doing this for the first time, a metal file is the best starting point. It's not expensive, gives you full control over how much metal you remove, and there's very little risk of getting it wrong. Power tools are worth considering if you're doing this regularly or if the blade is severely dull, but they do reward patience and a steady hand.
Should I Sharpen or Replace the Blade
✓ Sharpen the blade if…
- The blade is dull but structurally sound
- There are only minor nicks along the edge
- The edge is worn, but the body is flat and unbent
✕ Replace the blade if…
- It is cracked anywhere along the body
- It is bent or warped
- It has heavy or deep chips
- It has worn down significantly in thickness
When in doubt, replacement is the safer call. A new blade for a standard rotary mower is rarely expensive, and using a damaged blade — even a slightly bent one — puts unnecessary strain on the engine and poses a real safety risk.

A note on cylinder mowers
This guide focuses on rotary mower blades, which is what the vast majority of homeowners use. The reel-style mowers with a helical cutting mechanism, that is, cylinder mowers, are a different matter altogether. Sharpening them requires a process called back-lapping, which is best left to a specialist service. If you have a cylinder mower, the steps here don't apply.
Pro-Tip: If you love the result of a clean, sharp cut but find the ongoing routine of removing, sharpening, and balancing a blade more effort than you'd like, a robot lawn mower can be a genuinely low-maintenance alternative. The blades on most robotic models are small, replaceable, and require no sharpening, as the mower handles the rest on its own schedule.
Common Mistakes to Avoid When Sharping Blades
Most problems that arise from sharpening a mower blade can be attributed to a handful of recurring errors. Here's what to watch out for.
Forgetting to disconnect the power source
This is the most important step and the one people are most likely to rush past. Always disconnect the spark plug lead, remove the battery, or unplug the mower before you go anywhere near the blade. There are no exceptions.
Sharpening the blade too aggressively
Particularly with power tools, it's easy to remove far more metal than necessary. Take light, consistent passes and check your progress frequently. Over-grinding changes the blade's weight distribution and shortens its working life.
Ignoring blade balance
Sharpening without checking the balance is one of the most common oversights. Even a slight imbalance creates vibration during use, and over time, this can damage the mower's crankshaft bearings, a repair that'll cost far more than a new blade.
Reinstalling the blade the wrong way round
A blade fitted upside down will push air and grass in the wrong direction, giving you a terrible cut and potentially clogging the deck. Mark the underside before removal so there's no guesswork when putting it back.
Trying to sharpen a damaged blade instead of replacing it
If there's a crack, a bend, or a deep chip, no amount of filing will make that blade safe to use. A cracked blade can shatter at speed. Replace it immediately; it's not worth the risk.
Final Thoughts
A sharp mower blade makes a more visible difference to your lawn than almost any other maintenance task. It gives a cleaner cut, reduces stress on the grass, and makes the mower itself run more efficiently. Thirty minutes of straightforward maintenance, and your lawn will thank you for the rest of the season.
FAQs
Are lawn mower blades worth sharpening?
Yes, in most cases. If the blade is structurally sound and only dull, sharpening it restores performance completely and takes less than half an hour. The only time it's not worth sharpening is if the blade is cracked, bent, or badly worn, in which case replacement is the better option.
How sharp should a lawn mower blade be?
Sharp enough to cut cleanly through grass, but not razor-sharp like a kitchen knife. A good working edge will feel noticeably sharper when you run your thumb carefully along the back of the bevel, but there's no need to go beyond that. Over-sharpening can actually make the edge more fragile and prone to chipping.
Can I sharpen a lawn mower blade by hand?
Yes, quite easily. A standard metal file is often the best tool for beginners because it gives you complete control over how much material you remove. It takes a little longer than power tools, but the result is just as good, and there's far less risk of making a mistake.
Can you sharpen mower blades without removing them?
You can, for light touch-ups, use a rotary tool or a dedicated blade sharpening attachment that fits against the blade whilst it's still in the deck. However, removing the blade almost always produces a better result. It lets you sharpen both edges evenly, inspect the blade properly for damage, and carry out the balance test that's rather difficult to do in situ.
How often should you sharpen a lawn mower blade?
Once or twice per mowing season is a reasonable routine for most homeowners. As a practical benchmark, consider sharpening after around 20 to 25 hours of use, or sooner if the blade has hit a stone, root, or buried debris. If the grass starts looking ragged after mowing, that's usually a reliable prompt to check the blade regardless of the calendar.
What is the easiest way to sharpen a lawn mower blade?
Remove the blade, clamp it in a vice, and sharpen the cutting edge with a metal file following the original bevel. It's the most beginner-friendly approach, requires no specialist equipment, and gives you good control over the result. Once sharpened, carry out the balance check with a screwdriver before putting it back on.

Laisser un commentaire
Ce site est protégé par hCaptcha, et la Politique de confidentialité et les Conditions de service de hCaptcha s’appliquent.